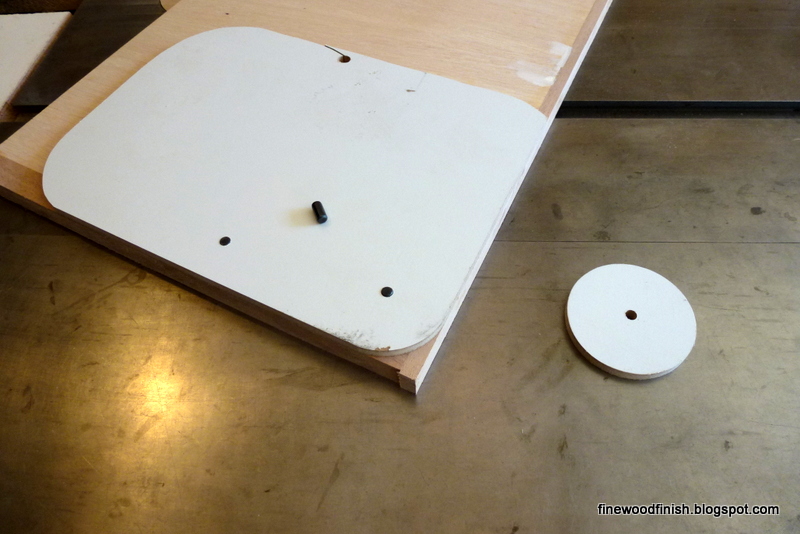
I am building a bookshelf and want to incorporate into it the speakers that I use for my television. This is the design using Sketchup for enclosing the subwoofer speaker. I need a porous material to allow the sound to radiate so in this project I decided to use metal. This is my first venture into using this material.
My usual construction style is Arts & Crafts. I've decided to depart from that style for this project and try Art Deco using sapele veneer. I'm no expert, but this style uses metal, contrasting pigments, and curved profiles. The curves are especially challenging because I solely use veneer. The previous
posts show my construction techniques for the veneered shelves. I have two enclosures that are a mirror of each other. The left enclosure holds the woofer and the right is empty. Since the woofer emits sound from the front and right side, the porous metal needs to be on these sides.
The left side of the enclosure is a slightly curved surface using sepele veneer. It has been bonded to a piece of 1/8" MDF. The curve is created by forcing the MDF into routed curved slots in the top and bottom pieces.
For the porous metal, I've used
sheet aluminum that is 1/32" thick. Creases are very noticeable, so cutting it was a concern. I've quite successfully used my tablesaw with an old crosscut blade. I've painted and used a water finish before inserting the metal. The blue tape protects the wood from scratches when I install the metal sheet.
The curve in the metal sheet is formed by bending it around an aerosol paint can. The cutouts in the back accommodate the speaker wires and power connection.
Curving the surface of the sheet creates a fair amount of vertical strength, but the rest of the enclosure is intended for vertical support and the ¼" plywood inserts resist racking in the front-to-back and side-to-side directions.
This enclosure is on a shelf which is the bottom of the bookshelf. A square hole in this shelf will allow the woofer to sit on the floor. I'm hoping this will allow the bass sound to still radiate into the floor and prevent unwanted vibration into the bookshelf.


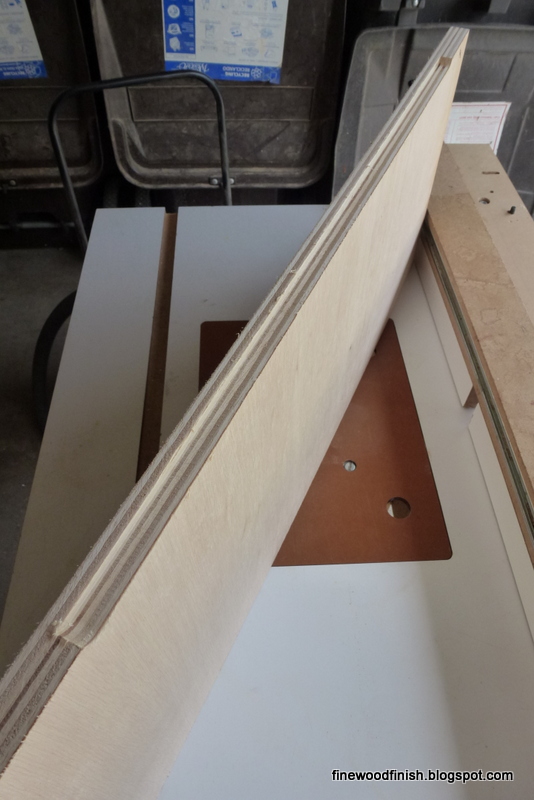

 Veneer applied to plywood has some challenges - what do you do about the
edge which shows the stacked plys? You can either apply veneer edging or
something a little bit thicker. For this project I wanted a 1" radius
corner. On a previous post I had discussed how to glue a similar species
wood on the edges and route rounded corners using a circle jig. For a
radius smaller than the router base, you need a different solution.
Veneer applied to plywood has some challenges - what do you do about the
edge which shows the stacked plys? You can either apply veneer edging or
something a little bit thicker. For this project I wanted a 1" radius
corner. On a previous post I had discussed how to glue a similar species
wood on the edges and route rounded corners using a circle jig. For a
radius smaller than the router base, you need a different solution.