Showing posts with label staining. Show all posts

Thursday, March 21, 2013

Sliding Dovetail Update

For my kitchen cabinet project, I wanted to use a modular approach to installing cabinets. Typically each cabinet is standalone, and are bolted together as they are installed. This means that between the cabinets are two walls, the right side of the cabinet on the left and the left side of the cabinet on the right. In furniture cabinets, only one wall would be used. I'm using sliding dovetails to allow cabinets to be interconnected while sharing a common wall.

The final cabinet will consist of five interconnected cabinets. The center cabinet shown below will hide trash and recycle containers on a pull out shelf. I plan to install this cabinet into the kitchen and then connect additional cabinets by sliding their walls into the corners of the installed cabinet.


The jig that I described in my sliding dovetail blog entry is working well. The cabinet sides are square and secure and if I need to use my router table for something else, the jig allows me to replicate the precise positions necessary to duplicate a cut.

Mission Style Finishing

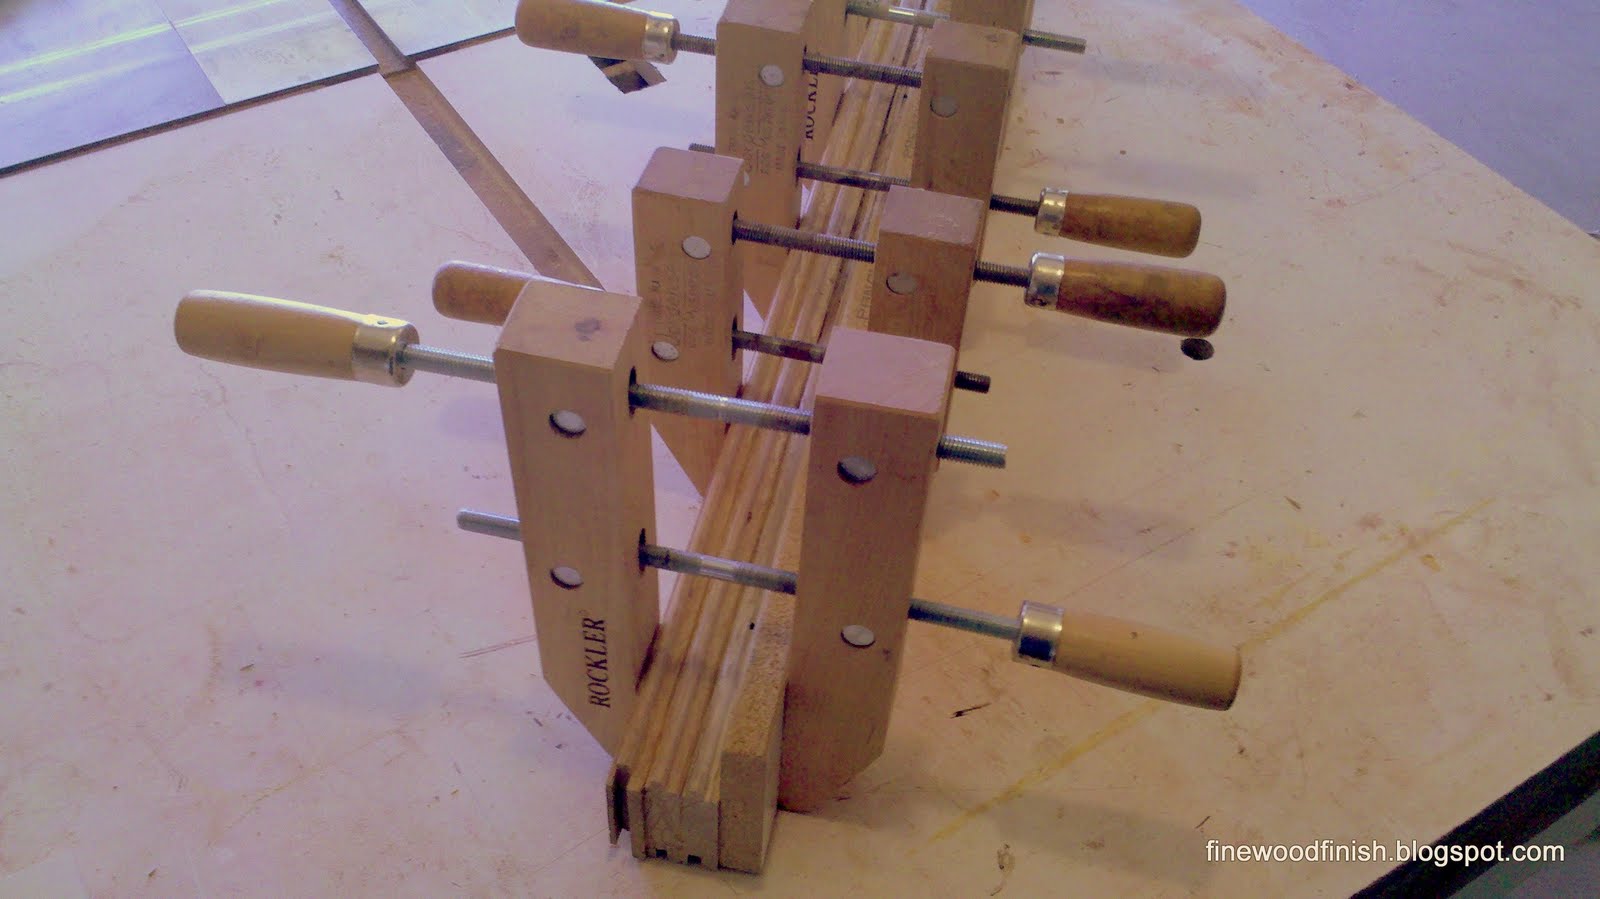
Quarter-sawn white oak veneer purchased from Certainly Wood is used on most of the exposed wood surfaces. The panel frames on the pull out drawer face were made from recycled oak flooring. To have a 1" wide frame, I've ripped and glued together two flooring pieces. A white oak veneer hides the glue seam. To strengthen this frame, I've inserted dowels (shown on the left) and then to hide them, I applied another piece of veneer (shown on right).

Since this blog is oriented to wood finishing, I wanted to discuss my revised Mission Style finishing treatment.
I do a lot of Mission Style finishing and have some recipes on my blog. Here are my NEW easiest steps, with most products available from your local big box store.


  1. Sand the wood surface to 150 grit.
  2. Use a very diluted water-based dye stain. It should look like a weak tea. This dye colors the wood but allows the rays and flakes to still be visible. Spray the dye if possible, otherwise flood the surface. For the dye, I use TransTint. It's in the jar on the left in this picture.
  3. Let the dye dry thoroughly and then spray with an unwaxed shellac (Bulls Eye, next to the dye in the picture). This protects the dye from subsequent steps.
  4. I use Minwax Gel Stain to highlight the grain and figure in the wood (third from the left). I mixed one part Mahogany to four parts Antique Maple to get the color I wanted. After a minute or so, wipe the stain off across the grain. This leaves stain in the grain.
  5. This is important, let the stain completely dry overnight. And because it is still cold in my garage, I can't use a water-based finish. I sprayed four coats of satin lacquer from Deft for the finish. Each coat will magnify the wood patterns.
 The major new techniques in this project have been Sketchup and sliding dovetail joints. So far, I'm happy with both.

Tuesday, March 20, 2012

Creating My Table With Reclaimed Flooring

I officially entered the Bold Doors competition. This competition is all about artistic expression using reclaimed materials. The requirement is that the entry must incorporate a reclaimed door. Some of the examples on their site show doors decorated in various ways, but since the entries will be displayed at local business, their guidance is to think small. My thought is to build a hallway table using reclaimed oak floors for the legs and a door for the top. My goal is for it to be 99% reclaimed wood.

Here are my materials, about 12 square feet of oak flooring and a cupboard door made from ¾" plywood. I carefully remove the nails and staples from the flooring pieces and rip the pieces thick enough to allow two ¼" diameter beads to be cut along the edge. Three boards glued together will provide space for six beads and any seam from gluing the pieces will be hidden between rows of beads.

I plan to use my Mission Style stain technique which will highlight interesting grain patterns in the oak. The plain sawn flooring has long grain patterns that aren't attractive - at least to me. Looking at the side of the wood flooring, the end grain pattern has short flake and ray patterns that are the hallmark of Arts & Crafts furniture. I've glued a piece of quarter-sawn piece veneer to what was the surface of the floor in order to cover the boring long grain.

Here I show a table leg with beads cut on a router table. I start applying the stain finish before construction because its easier to sand. The first step is to use a Mahogany Gel Stain. I wipe the stain off across the grain in order to leave the pigment in the grain. After 24 hours, I use a 150 grit sandpaper and sand off most of the color leaving the pigment in the grain. It will look much better after spraying with a dye stain. Next step, cutting mortise and tenon joints for constructing the table.


Monday, February 6, 2012

Mission Style End Table with Slate, Part 3

Here is an update on the end table project. The complex part are the curved sides which bow out slightly from each side to match the curve of the top. The picture at right shows the bottom of the table with a coat of gel stain that fills the grain of the oak. I'm following my Mission Style finish recipe that I blogged about earlier. After the stain dries, I'll sand it and then spray a brown dye.
Economy and Reduced Complexity
Using solid quarter-sawn white oak would have been costly and showing flake on all four sides of the legs would have been difficult. This project almost entirely uses veneer. The core of the legs is ¾" plywood with ¼" MDF sandwiched between them. Quarter-sawn white oak veneer is glued to all four sides.

Enabling the Curved Sides
To create the bowed sides, I've cut a 15° slot into the sides of the legs. I don't want the curve all the way to the floor, so the challenge is only having the slot partially down the leg. Veneer allows me to cover the slot on bottom part of the leg. I sawed the slot the entire length of the leg, then filled the slot with filler where it wasn't required. Veneer was glued over the top and I exposed the slot again with a small diameter router bit on my router table.

Saturday, January 7, 2012

Mission Style End Table with Slate, Part 1

I've wanted to integrate slate with wood and thought I'd share my progress on an end table that I've just started. I had a piece of plain sawn oak that I want to make more interesting. I glued quarter-sawn white oak veneer to it to make the top more interesting. I plan to apply the Mission Style finish that I described in an earlier posting.

Here is what it looks like after applying Mahogany gel stain. Notice that the grain pattern is now more visible because the pigment gets lodged into the pores. I'm going to let it dry over night and then sand off any stain on the wood surface while leaving the stain in the grain to accentuate the pattern.


After I sanded the stain with 220 grit, I sprayed on a brown water-based dye. To protect the dye from subsequent operations, I then sprayed with Bulls Eye Shellac. Now I'm ready to glue the plywood bottom for the slate and then insert the tile into the tabletop.

Saturday, November 5, 2011

Staining two different wood species

A sign of fine woodworking is pairing several wood species together in a project. Here I am making a tabletop using two veneers, ash and cherry. The challenge I frequently have is getting the two different species to be exactly flush. There should be no bump when running your finger across the glue line. I typically use a biscuit joiner to align the tops before gluing, but the finger is sensitive to any bump. I've come to the conclusion that I have to allow for light sanding. But this will prevent me from staining the pieces before glue up.

To accent the pores in the ash, I have applied Minwax Gel Stain Honey Maple. Using a paper towel, I wipe the gel off across the grain. This leaves the colored stain in the pores. Lightly sand the ash using 180 grit sandpaper after the stain has dried. If you can smell the solvent from the stain, then it's still drying. The ash will be dyed after glue up.

After gluing the pieces together, I lightly sand the surface with 180 grit to make the top perfectly smooth. The ash needs to be dyed a light brown and the cherry a light red. I use water based dyes made using Homestead's TransTint. The problem is keeping the dyes from staining the wrong species. I masked the cherry with tape and sprayed the ash with the dye and after it dried, I sprayed a thin coat of Bulls Eye Clear Shellac.

The tape did a great job of protecting the cherry from being dyed. Next I need to apply the red dye. Rather than having to cover the ash with tape, the shellac will prevent the red dye from being absorbed. See how it beads up on the ash. Simply wipe it up with a paper towel.


Let the red dye dry and spray it with shellac. Even after the dye has dried, a water based finish can ruin it, so the shellac creates a barrier between the two. Finally, spray a coat of Minwax Polycrylic on the surface. Let it dry for several hours and run your hand across the surface. Any small bumps can be leveled using a 3M gray colored Scotch-Brite ultra fine pad.

One more coat of Polycrylic and then you have a smooth table top you can be proud of.