Saturday, April 28, 2012

Semi-Circle Table Using Reclaimed Wood


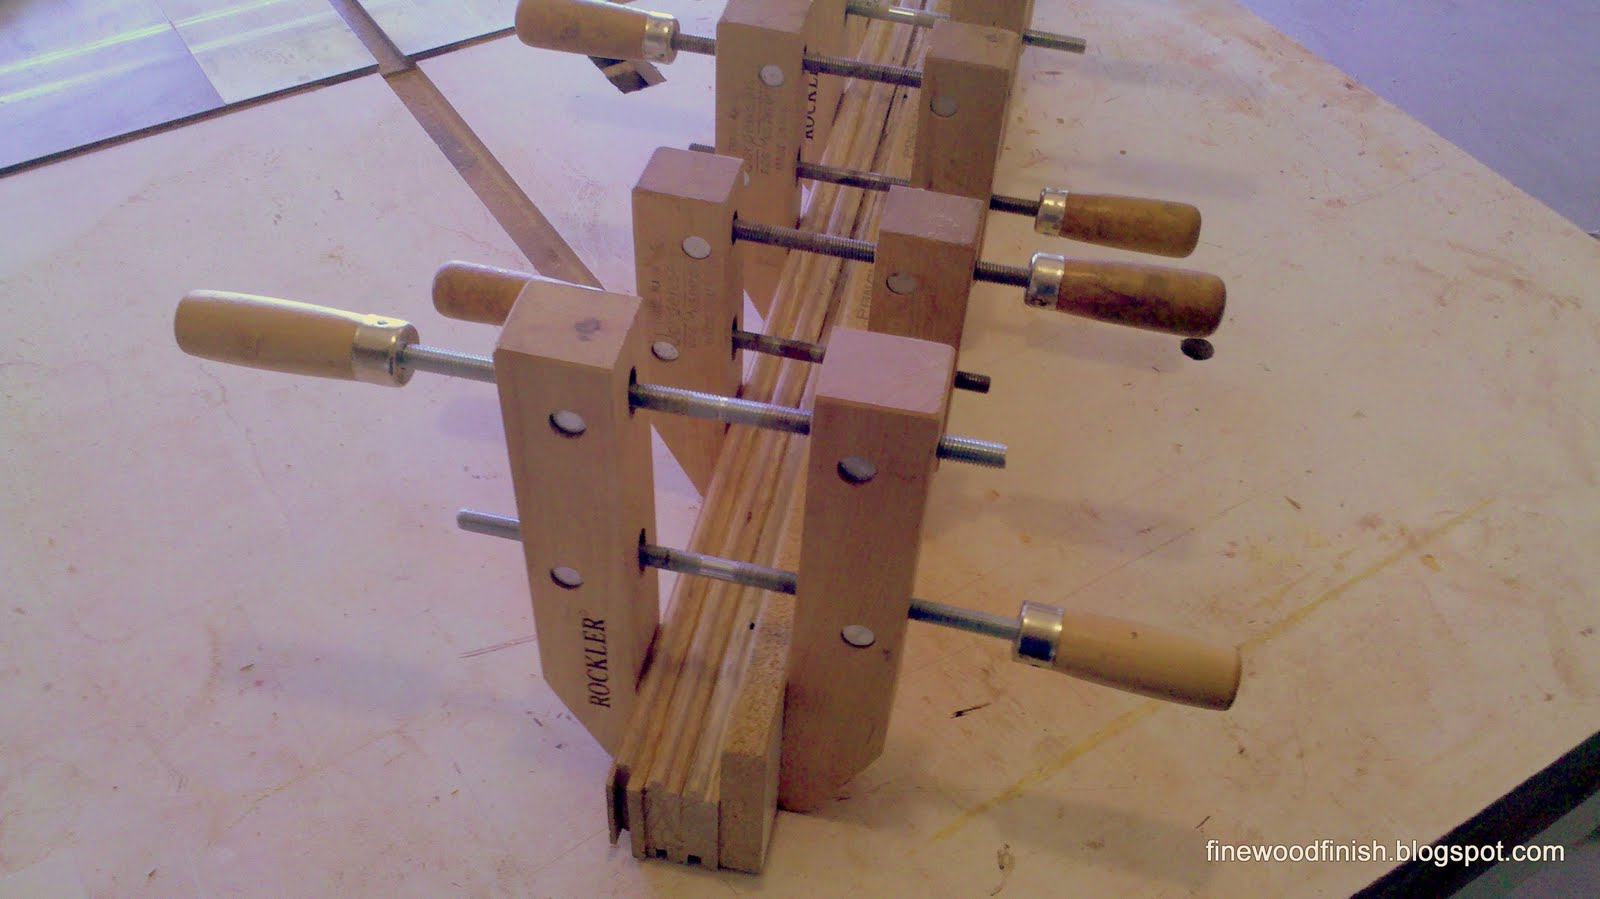
I've started a new table project using reclaimed materials. I've glued maple veneer to a ¾" plywood cupboard door. It's flat, cabinet-grade wood with many layers of ply, and they sold it for $1. My plan is to create a border of cherry similar to my previous night stand project. The top will be a semi-circle and my plan is to show a band of poplar painted green around the side.


In my night stand, I used biscuits to align the edge of cherry to the top. The smaller radius in this project prevents the biscuit cutter from making a deep enough cut into the cherry. Instead of that approach, I've cut a 3/16" slot into both pieces. The roller bearing on the router bit allows me to follow the curved shape. This slot allows me to insert short splines to align the top and glue the pieces together.. To curve the spline inserts, I use the router circle jig to curve the spline inserts.


Before I glue the cherry piece on, I've applied a Minwax Honey Maple Gel Stain to accentuate the grain in the ash. I do this before gluing the edge to avoid getting the stain on the cherry. I'm waiting 8 hours for it to dry before proceeding.


Surrounding the semicircle is a border using figured cherry veneer. I plan on routing a bead profile along the edge of the table so I have glued a strip of cherry to plywood and then applied the veneer over this.


Before gluing the border of cherry, I use the inside curve of the piece as a template to cut the blue masking tape. I will use this with some parchment paper to cover the ash while I stain the cherry. Using a water based dye, I spray the border red. After it dries, I use the tape to mask the border and spray the ash using an amber colored dye.

To protect the table top from the water base finish, I sprayed the top with a fine film of shellac. Finally, I sprayed a couple coats of Polycrylic.

Next, on to the apron and legs.


Wednesday, April 18, 2012

Final View - Table Made From 99.9% Recycled Materials

I finished my hallway table using reclaimed oak flooring for the legs and an old cabinet door for the top. To show the flake pattern that is characteristic of quarter-sawn wood, I glued three flooring strips together and routed beads on one side. The beads hide the glue joints. On the top and bottom of the glued stack, I applied a quarter-sawn white oak veneer. This veneer and some dowel pins are the only non-recycled part of the project. The pins were used to secure the rail tenons in the mortise on the legs.

The top was painted with black acrylic paint with a satin finish. The rails have rabbet cuts which holds the top. I sprayed the whole piece with three coats of satin Polycrylic, a water-based finish. The top now seems to absorb light; there is no reflection whatsoever.


Wednesday, April 4, 2012

Progress on my Hallway Table using Reclaimed Wood

Just an update on my Bold Doors entry. I've assembled and glued the legs to the aprons rails using mortise and tenon joints. On a previous post, I discussed how applying gel stain which highlights the grain. Using 150 grit sandpaper, I removed the stain from the wood surface and then sprayed with a light brown water-base TransTint dye. I use my small touch-up gun with a 0.8mm nozzle. This is my favorite spray gun because its so easy to clean.

The rails have a ¼" rabbet cut to hold the tabletop made from a reclaimed cupboard door. Using a door is a requirement of the competition. I want this wood insert to be colored black so I paint it first before I install it in the oak rail frame. There was one hole and some dents that needed to be filled. After sanding it enough to remove some of the polyurethane finish, I filled the recessed areas with drywall joint compound (Even Jeff Jewitt, wood finishing author, says he does this). Drywall compound creates a very smooth surface and its easy to sand. To create a good bonding surface for the acrylic black paint, I sprayed the surface with Zinsser BIN Primer. This is a shellac-based primer that bonds to anything. This will be the magnet that holds the acrylic paint to the door's existing polyurethane finish.

I've painted this piece black with a small amount of Valspar acrylic paint. This sample quantity from Lowes is all I need, so this was cost effective. Everything I've read says it is difficult (or not recommended) to spray acrylic from a HVLP gun using a small compressor. I've sprayed acrylic successfully using my full size 20oz capacity gravity gun with a 2.0mm nozzle, but it takes longer to clean the gun than my touch-up gun.  As an experiment, I tried the touch-up gun using a 1.5mm nozzle. As Jeff recommends, I've diluted the Valspar with 10% water.
It works! I wouldn't want to spray a whole room like this, but the touch-up gun is working fine for a small piece.

Next: install the black tabletop and apply a water-based finish.

Tuesday, March 20, 2012

Creating My Table With Reclaimed Flooring

I officially entered the Bold Doors competition. This competition is all about artistic expression using reclaimed materials. The requirement is that the entry must incorporate a reclaimed door. Some of the examples on their site show doors decorated in various ways, but since the entries will be displayed at local business, their guidance is to think small. My thought is to build a hallway table using reclaimed oak floors for the legs and a door for the top. My goal is for it to be 99% reclaimed wood.

Here are my materials, about 12 square feet of oak flooring and a cupboard door made from ¾" plywood. I carefully remove the nails and staples from the flooring pieces and rip the pieces thick enough to allow two ¼" diameter beads to be cut along the edge. Three boards glued together will provide space for six beads and any seam from gluing the pieces will be hidden between rows of beads.

I plan to use my Mission Style stain technique which will highlight interesting grain patterns in the oak. The plain sawn flooring has long grain patterns that aren't attractive - at least to me. Looking at the side of the wood flooring, the end grain pattern has short flake and ray patterns that are the hallmark of Arts & Crafts furniture. I've glued a piece of quarter-sawn piece veneer to what was the surface of the floor in order to cover the boring long grain.

Here I show a table leg with beads cut on a router table. I start applying the stain finish before construction because its easier to sand. The first step is to use a Mahogany Gel Stain. I wipe the stain off across the grain in order to leave the pigment in the grain. After 24 hours, I use a 150 grit sandpaper and sand off most of the color leaving the pigment in the grain. It will look much better after spraying with a dye stain. Next step, cutting mortise and tenon joints for constructing the table.


Monday, March 12, 2012

Creating Fine Furniture with Reclaimed Materials

I'm planning on entering a juried competition which requires using a reclaimed door to create a piece of art. Doors are apparently frequently discarded and many of them end in landfills. I'm considering constructing a hallway table using a portion of a solid-core front door for the table top and milling reclaimed oak flooring into trim apron rails and legs. My goal is to use 99% reclaimed materials (by weight) for this entry and I will be documenting my progress on this blog. Entrees aren't due until June so I think I have enough time.

Here is photo of reclaimed flooring that is left outside to the elements. Bundles are less than 10 square feet and priced at $1 per square foot. Apprehensively, I purchased a bundle of solid oak flooring and took it home.

Since I like to use veneer, beaded features, and mission style finish, I milled and finished a sample piece from the flooring I purchased. Shown on the far right, even after the beads were cut, the long grain patterns of the oak show due to its flat-grain. Preferring the shorter ray patterns from quarter-sawn wood, I've stacked and glued three pieces of flooring together (near right). This exposes the end grain, which is essentially what quarter-sawn wood shows. It's hard to tell from the picture, but the left piece is better.

Having figured out how to use the reclaimed flooring for the apron rails, the legs are next.